
This cute little pillow is a great project for someone who has very little sewing experience, or this is your first sewing project. It also makes a perfect gift, because it can easily be made in a weekend.
You will need:
-2-3 colors of fabric
-Sharp sewing scissors
-Pins
-Needle and thread
-Ruler
-A cat to sit on your fabric and make sure it’s soft enough
-An iron and an ironing board
I first picked out my fabric colors. I picked colors that went well together, sort of blues and greens.

Then, I drew a quick little sketch of my plan for my pillow. As you can see in the plan for my pillow, I’m alternating colors. I used my lighter color fabric as my “A” fabric, and the darker fabric as my “B” fabric. You, of course, can pick any color you want. As you can see from this plan, you will need 5 squares of your A fabric, and 4 squares of your B fabric.


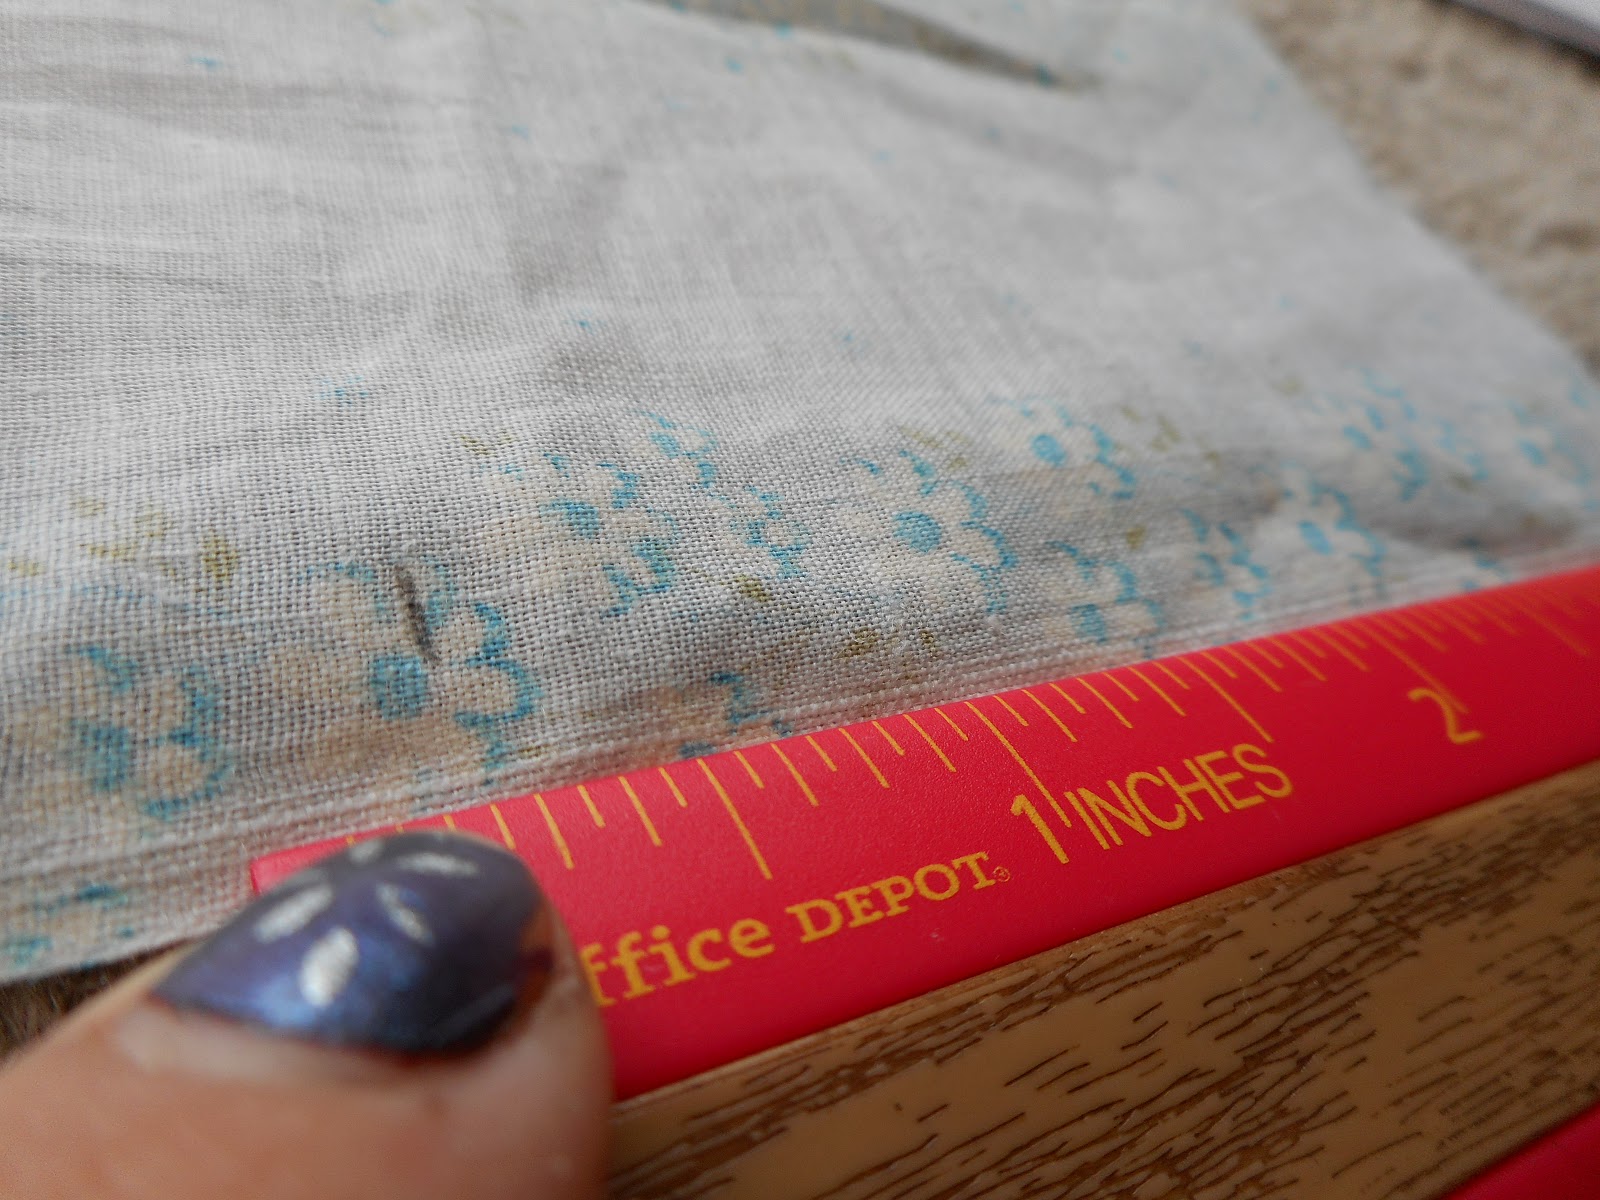
Then, I marked out my squares to cut. Each square was 3.5” x 3.5”. On the wrong side of the fabric, the side of the fabric where the pattern isn’t as bright, I made little pencil marks as to where to cut. Remember, measure twice, cut once!
My squares were a bit wrinkled, so I ironed them.

After I ironed my squares, I laid them out so I could easily see what needed to be sewn together. I thought about writing how to sew them together, but that didn’t really work out very well. I decided to make a short video instead. You can find it here: https://youtu.be/-9vCHWlE75g

I sewed them together in strips, so I did the top row, then the middle, then the bottom. Then, BEFORE sewing those together, I ironed them. With my two fingers, I gently opened the seams and I ironed them all in one direction.

Then, I flipped them over and ironed them.
Once I was done ironing them, I sewed all the strips together. And then I ironed that! 
This is the end of part 1 of my tutorial. Next week I’ll post part two. I’ll show you how to cut out the backing, sew it on, stuff the pillow, and sew it up. I’ll also have a quick word about iron safety.

No comments:
Post a Comment